Volume is an additional resource that restricts storage to enhance storage capacity.
Create Volume
Creating a Volume for Instance to use as additional storage. The steps are as follows.
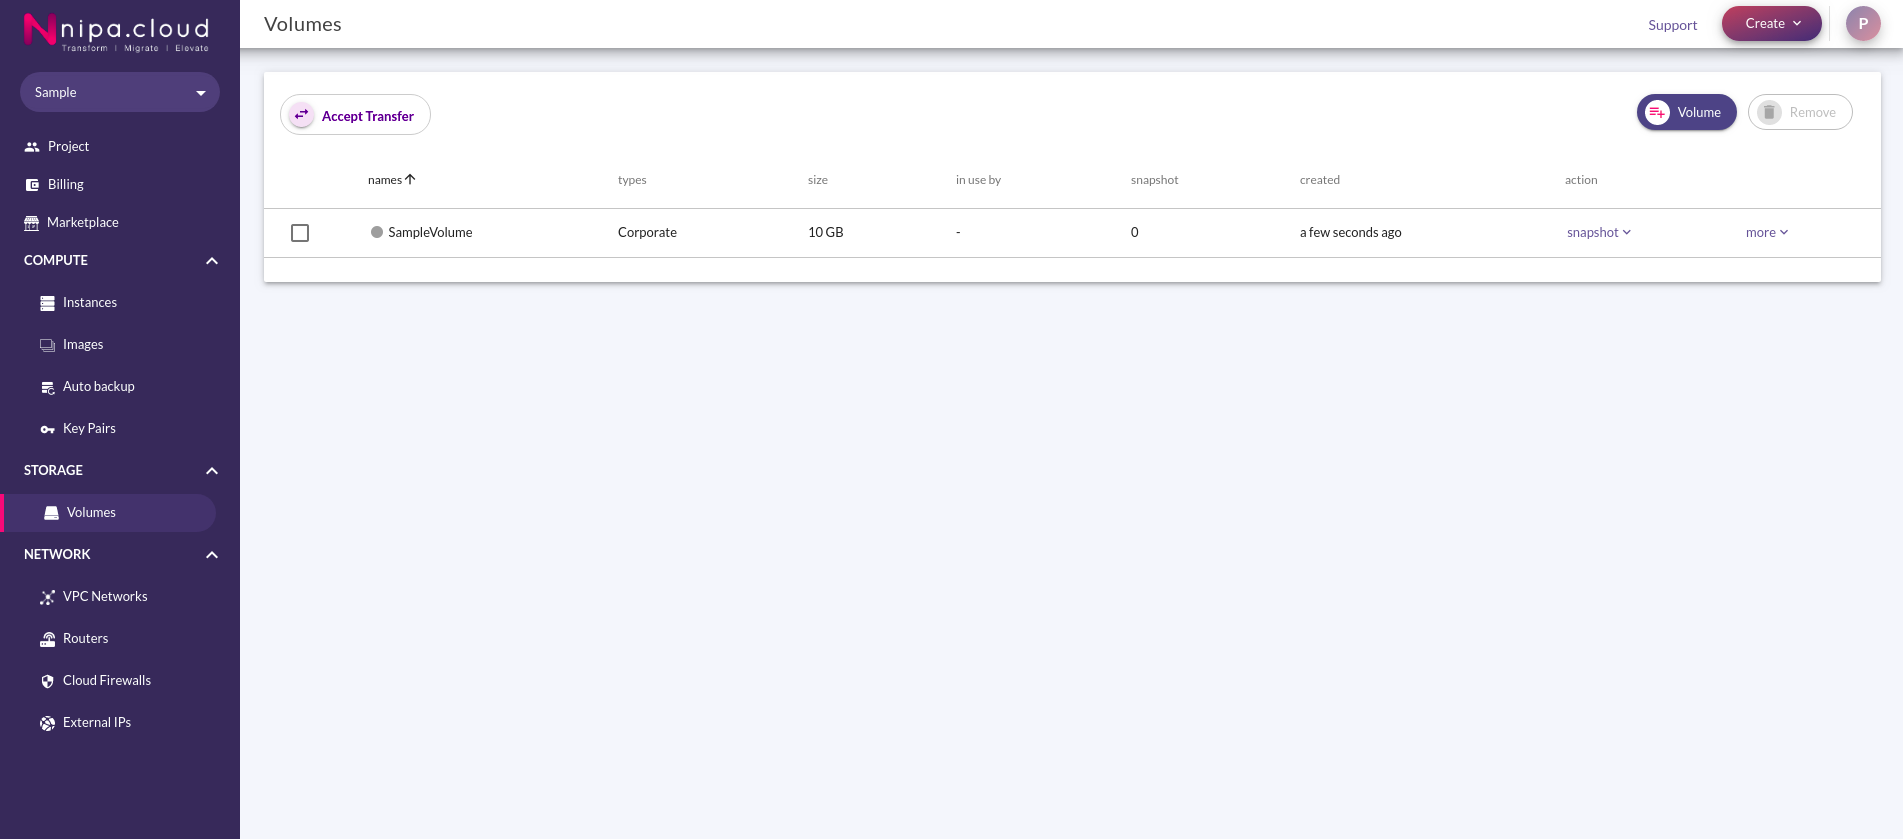
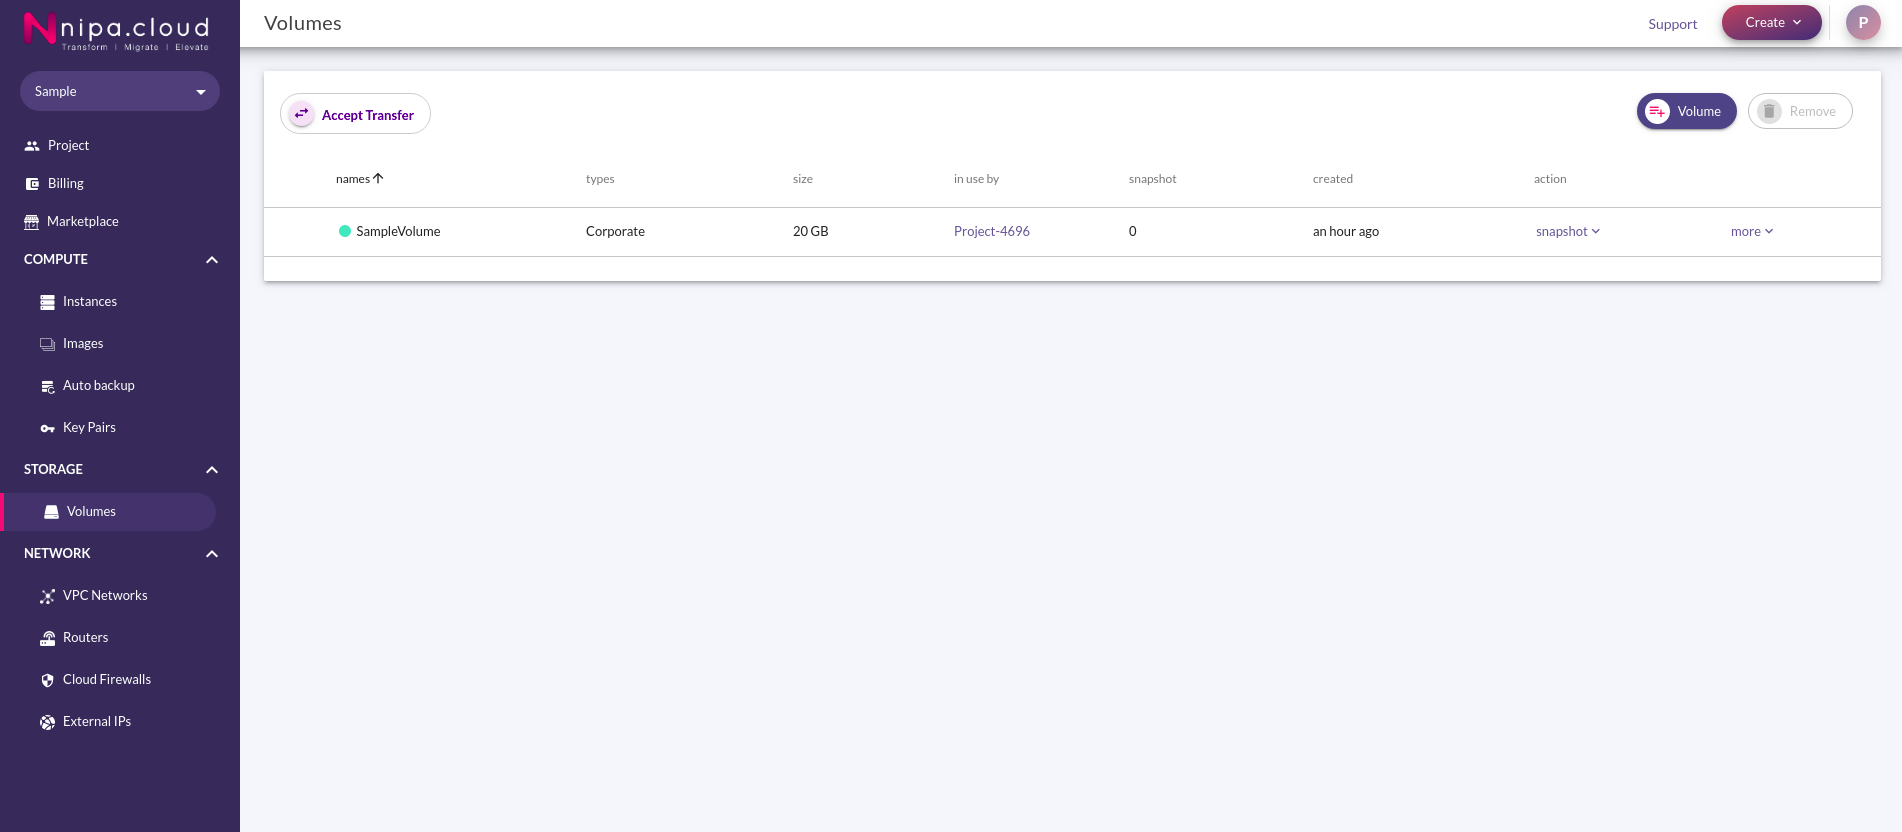
- When logged in to NCP, navigate to the Volumes page by clicking on the Storage group in the Sidebar.
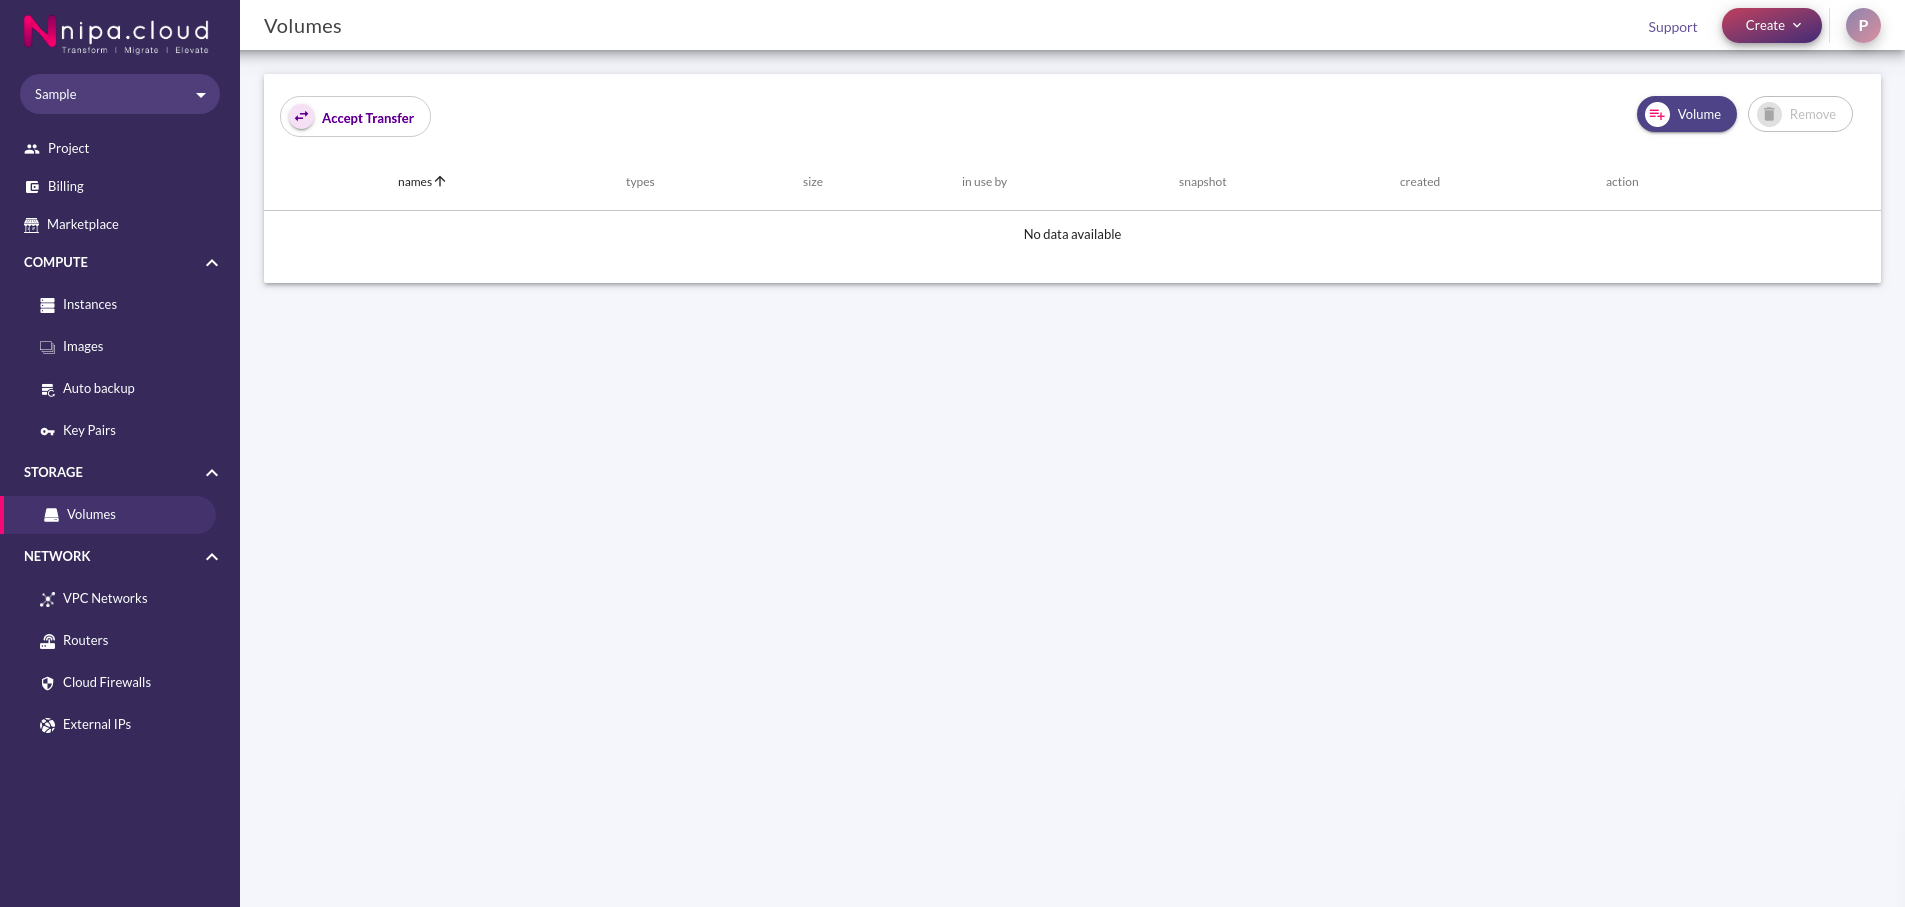
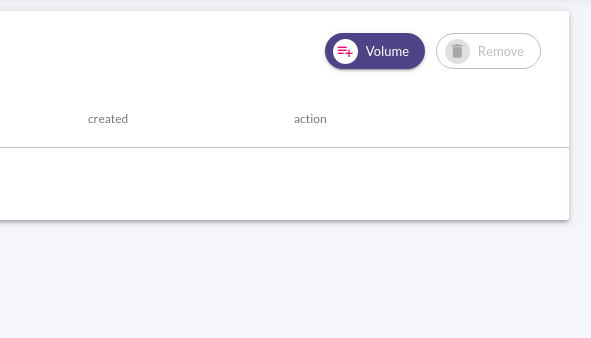
2. To enter the create volume page, click the volume button at the top of the page.
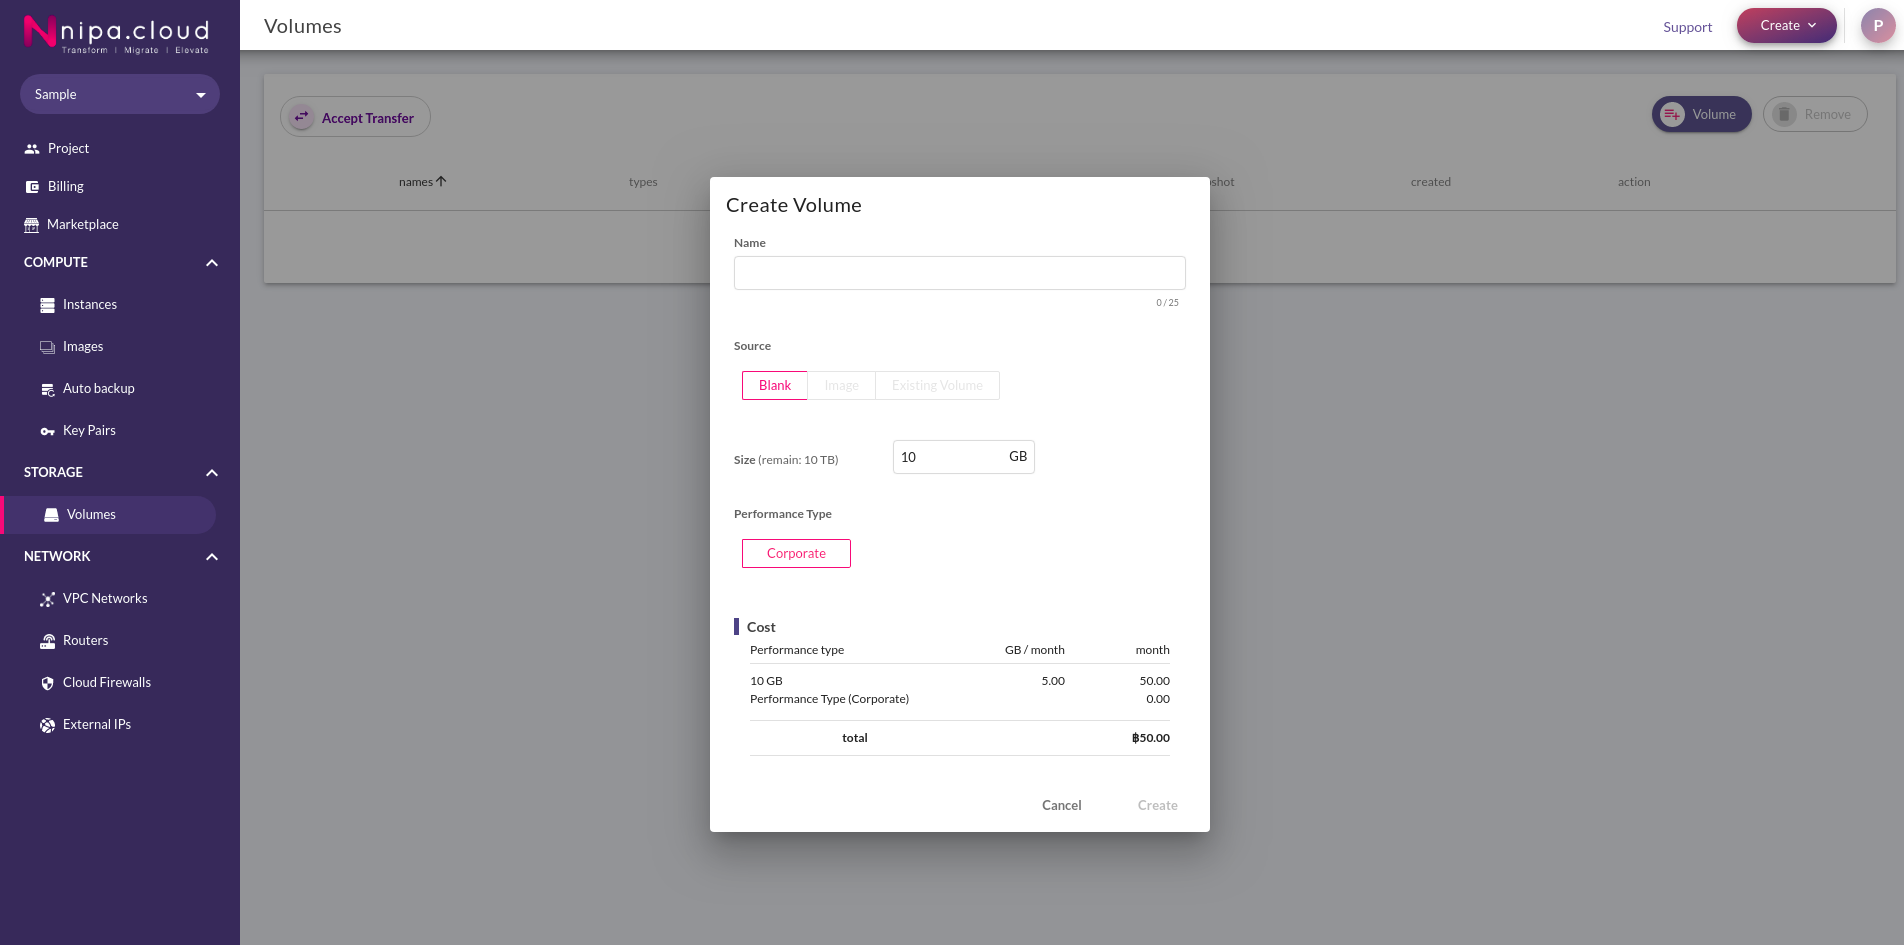
created volume page
For create volume, Fill out the form with the following information.
- Name: Title of the Volume
- Source: Create this Volume from one of the three options available.
- Blank: Create a Normal Volume
- Image: Create a Volume from an Image
- Existing Volume: Create a Volume from an Existing Volume
- Size: Size of a Volume
- Perfomance Type: Only Corporate options will be available.
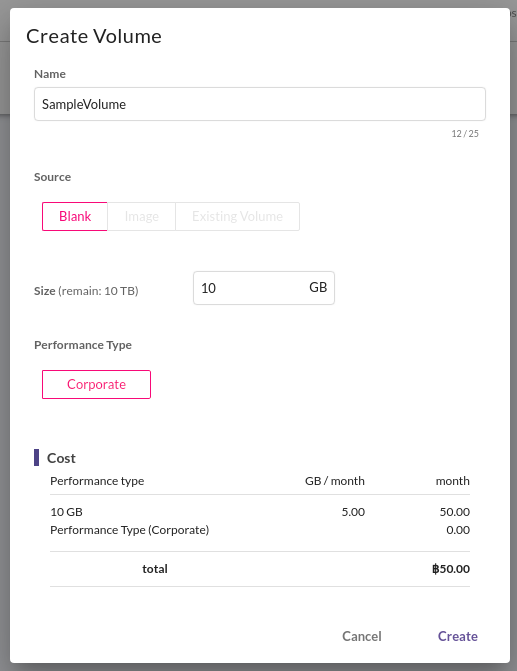
3. Check that the information is valid and then click the Confirm button to create Volume. The system will return to the volume page to display the newly created volumes.

Extend Volume
When a volume has been created, but it is insufficient for use. It can be expanded by doing the following.
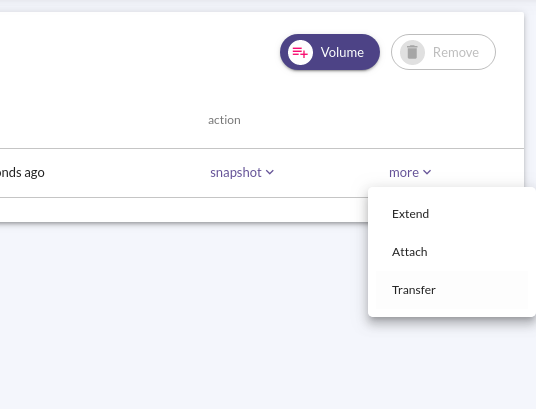
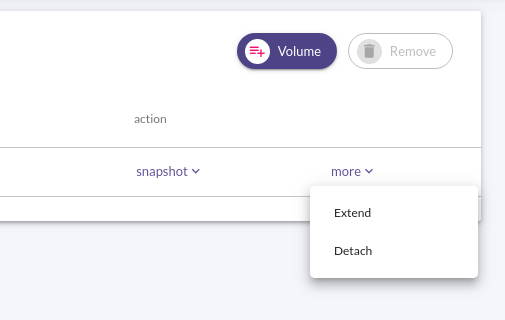
- To click the more button on the right side of the volume.
2. To enter the Extend Volume page, click the Extend button.

For extend volume, Fill out the form with the following information.
- Volume name: The title of the volume to be expanded.
- Current size: The current volume’s size
- New size: new size desired
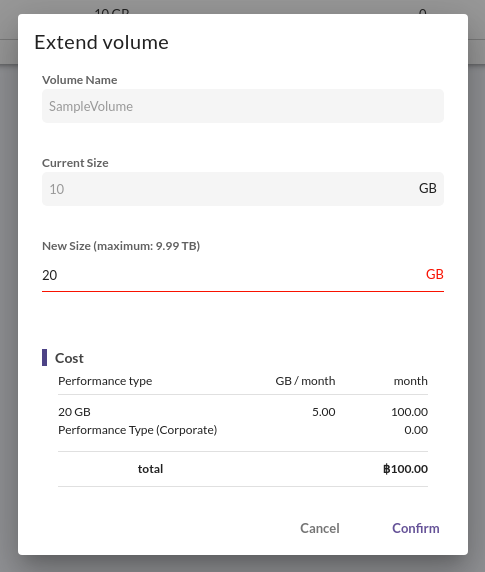
3. Check that the information is valid and then click the Confirm button to Extend Volume. The system will navigate back to the volume page to display the right volume.

Attach Volume
When there is a volume of the desired size, it must be used by attaching to the instance using the steps below.
- When logged in to NCP, navigate to the Volumes page by clicking on the Storage group in the Sidebar.

2. To enter the Attach Volume page, click the Attach button.
3. Choose the name of the instance to attach the volume.
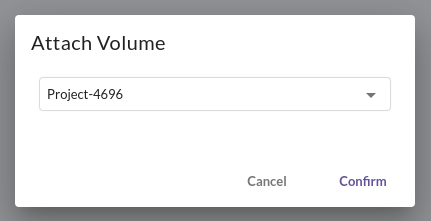
4. Check that the information is valid and then click the Confirm button to Attach Volume. The system will navigate back to the volume page to display the attached volume.
Detach Volume
When you want to switch the Volume to another instance or destroy it, you must first detach it using the steps below.
- When logged in to NCP, navigate to the Volumes page by clicking on the Storage group in the Sidebar.

2. To enter the Detach Volume page, click the Detach button.
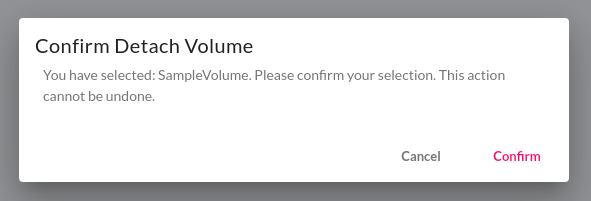
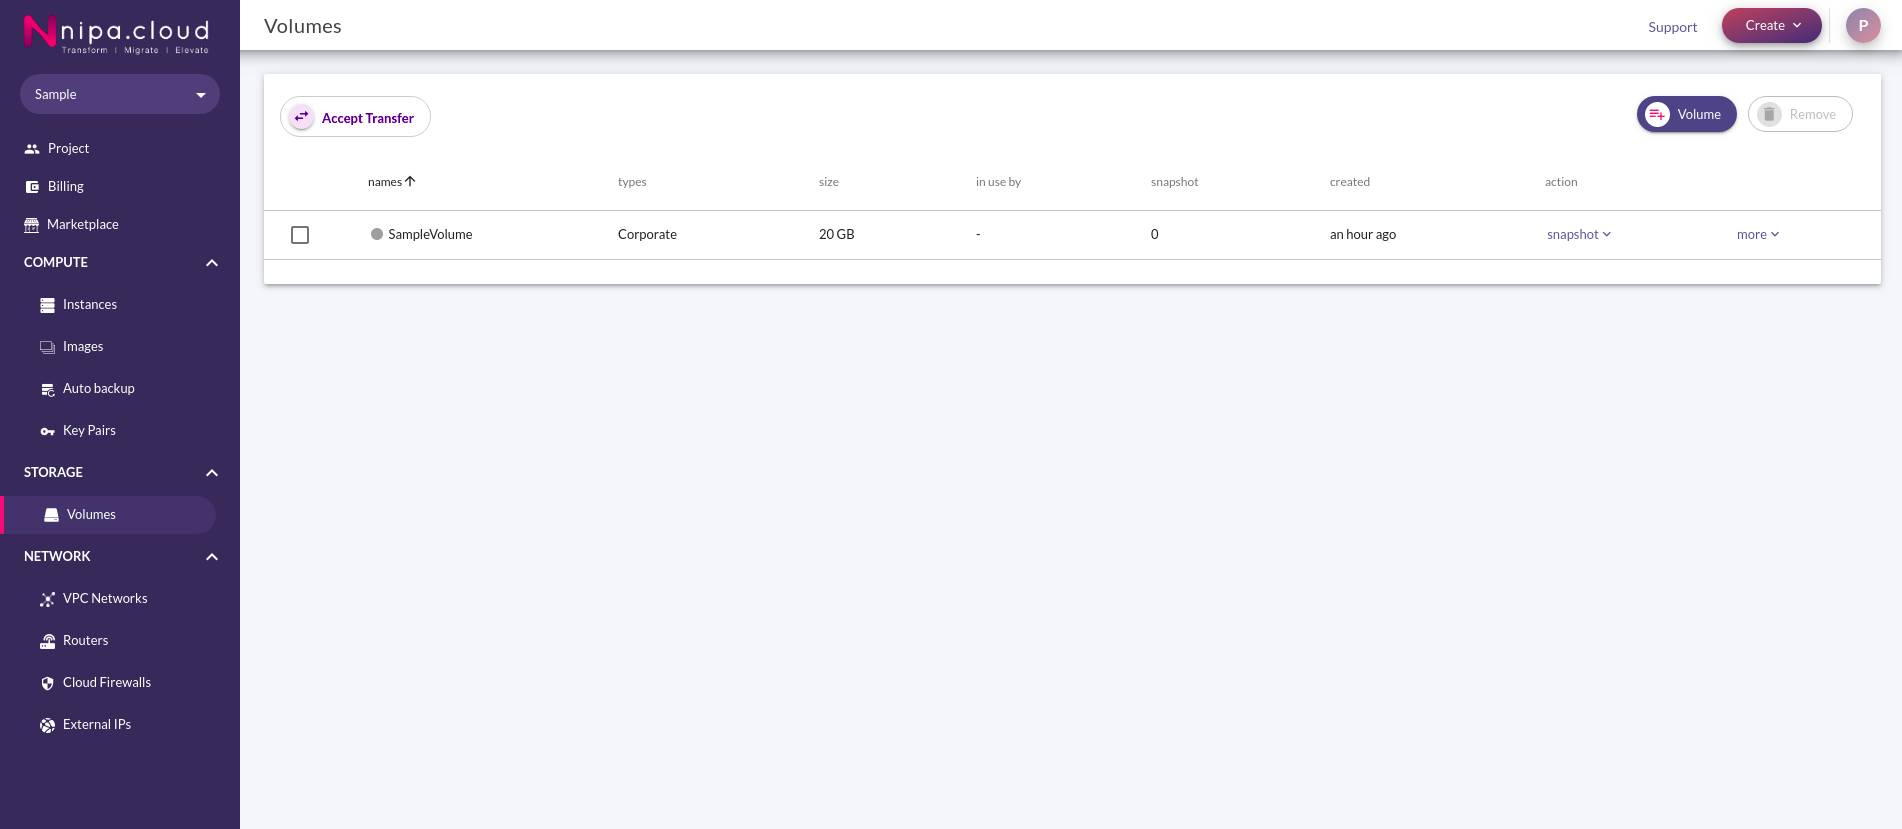
3. Check that the information is valid and then click the Confirm button to Detach Volume. The system will return to the Volumes page, displaying the Detach Volume.
Transfer Volume
In addition to using volume as additional storage with instances in your project that volume can transfer to other projects. There are steps as follows.
- When logged in to NCP, navigate to the Volumes page by clicking on the Storage group in the Sidebar.
2. Click Transfer button to enter the Transfer Volume page.
For transfer volume, Fill out the form with the following information.
- Transfer name: Name of the Tansfer
- E-mail destination: Volume recipient’s email
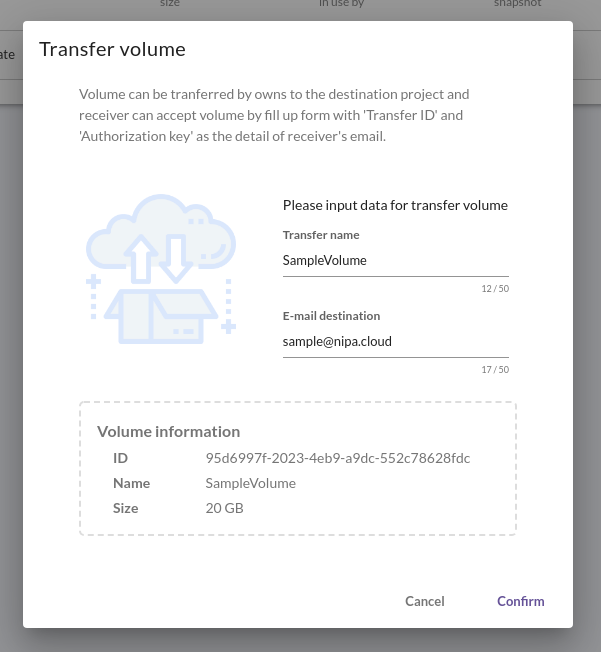
3. Check that the information is valid and then click the Confirm button to transfer Volume. Following that, the system will send an email with the information needed to receive the Transfer Volume, as well as display volume transfer information that should be downloaded for storage.
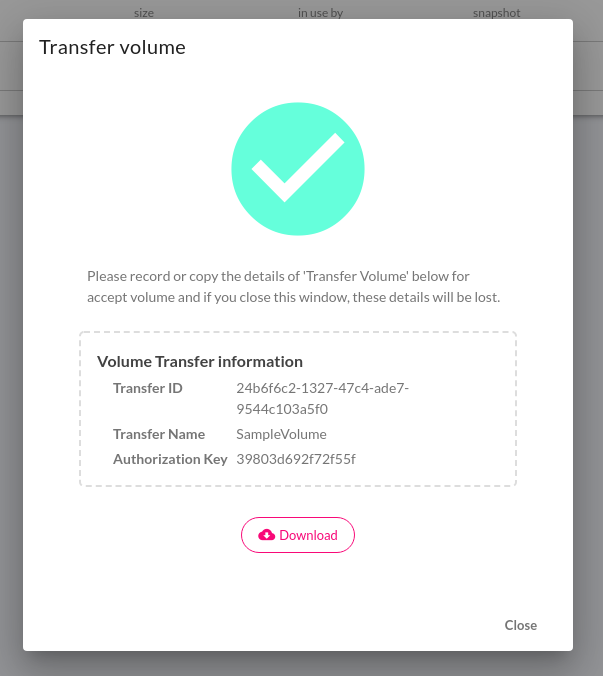
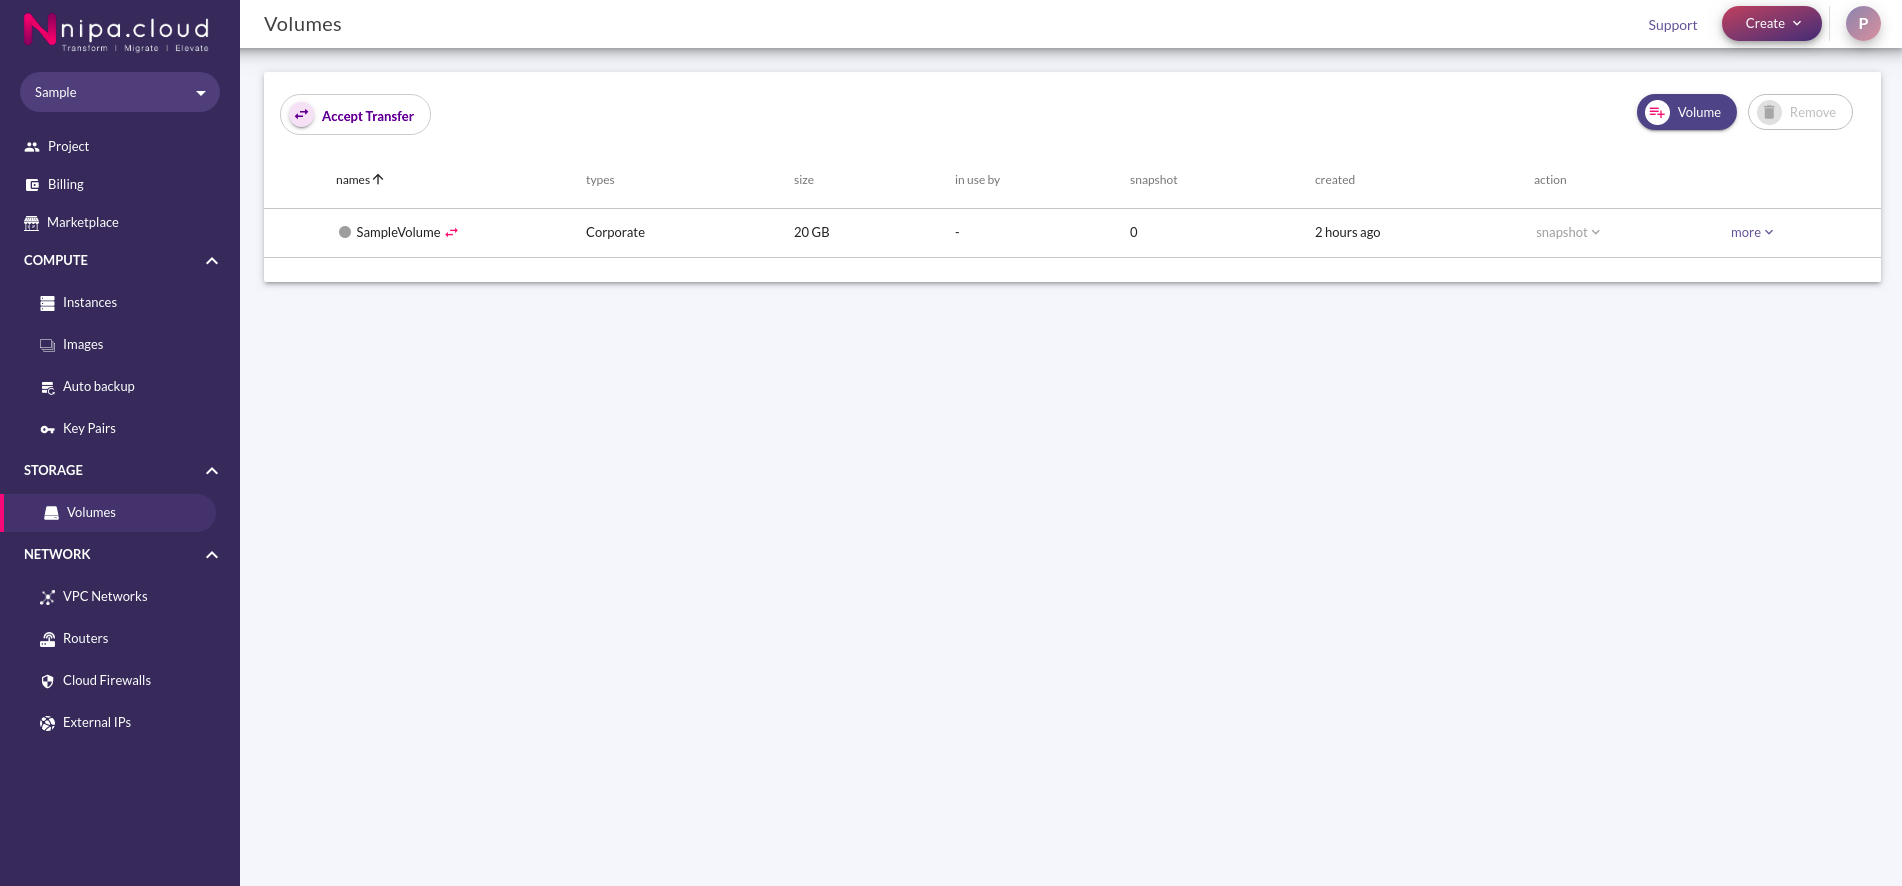
4. The system will then return to the Volumes page and display the volume that is in the pending transfer state, which will stay active until the recipient accepts the transfer.
Accept Volume Transfer
You can accept the transfer volume after getting the Email Volume Transfer by following the procedures below.
- When receiving volume transfer information, the Transfer ID and Authorization Key must be included.
For example,
Transfer ID: f9045302-9dcb-4473-b88e-6ad5ed86eb66
Transfer Name: sample
Authorization Key: 63f85bb5b3b20385
2. When logged in to NCP, navigate to the Volumes page by clicking on the Storage group in the Sidebar.
3. Click Accept Transfer button to enter the Accept Transfer Volume page.
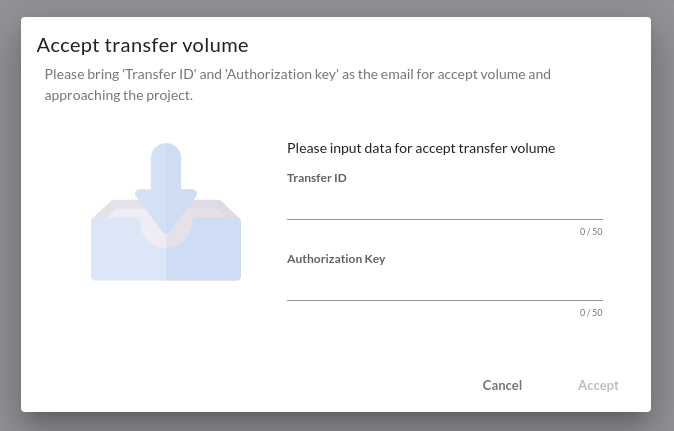
4. Fill out the information as received on the Accept Transfer Volume page.
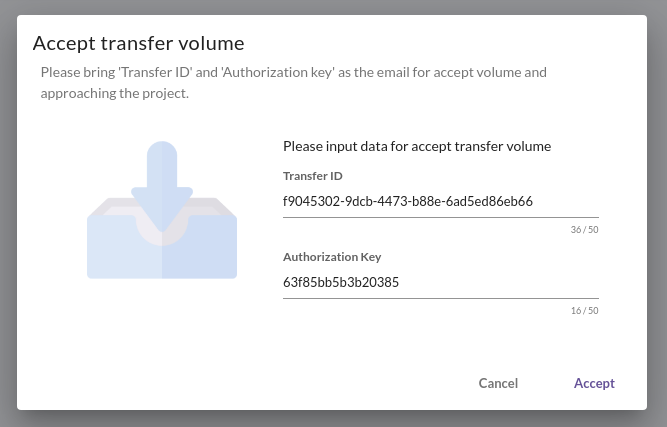
5. Check that the information is valid and then click the Accept button to Accept Volume. The system will navigate back to the volume page to display the transfered volume.
